
On this page, we describe the cheapest way to setup a Raspberry Pi based Hotspot running the Pi-Star operating system. This guide assumes you are running Windows. Whilst waiting for the delivery of the bits, Get your Digital ID and BrandMeister password. Assuming you have a DMR capable radio, for your Hotspot you will require the following:
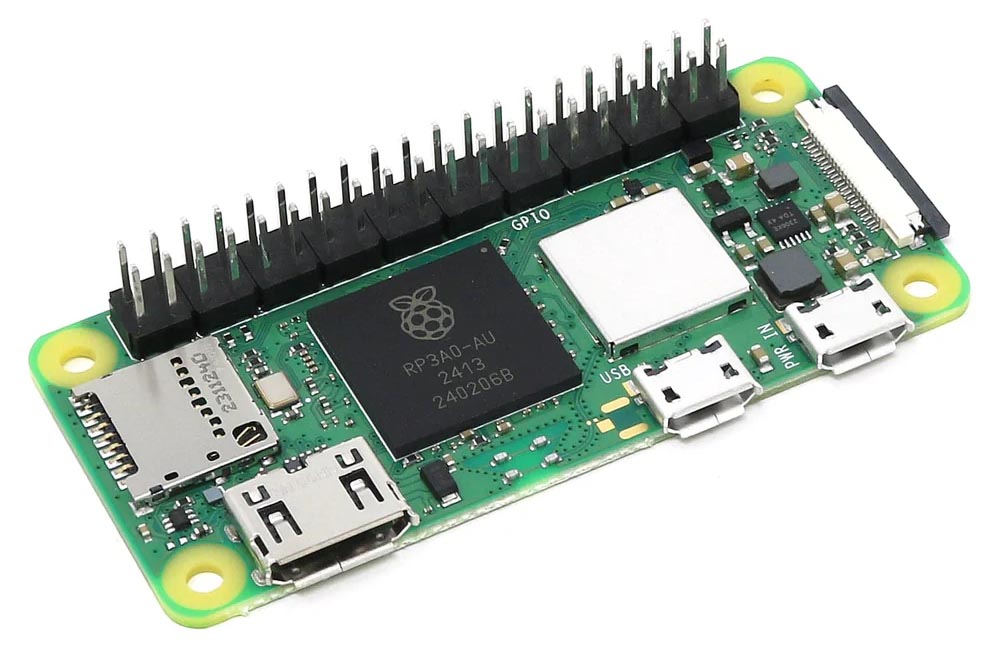
- Raspberry Pi Zero 2 W. Cheapest version is from the offical PiHut distributor. The Pi Zero's power requirements are very low and can be powered from any USB port. You can also use a Raspberry Pi 4B (at about twice the cost) but not the Raspberry Pi 5!
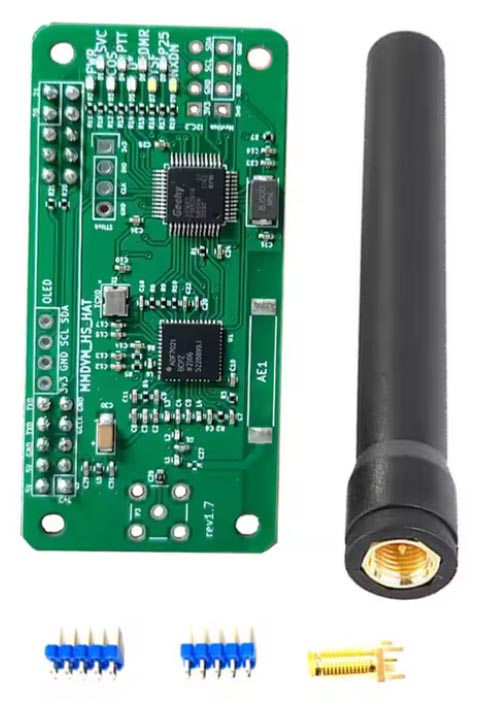
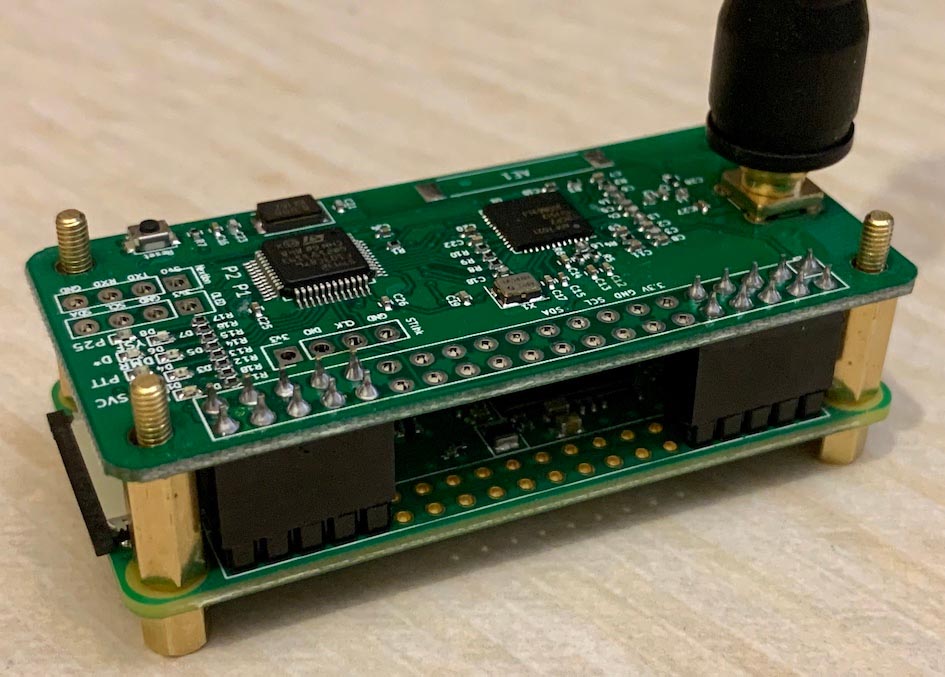
- MMDVM Hotspot 'hat' for the Pi Zero. Cheapest version is from AliExpress. In the interest of keeping this build to the cheapest possible, don't go for the version with a OLED display, it's so small (0.97 inch) and just about unreadable. The LastQSO application is a much better option. You could also buy a case but we are trying to keep the cost as low as possible.
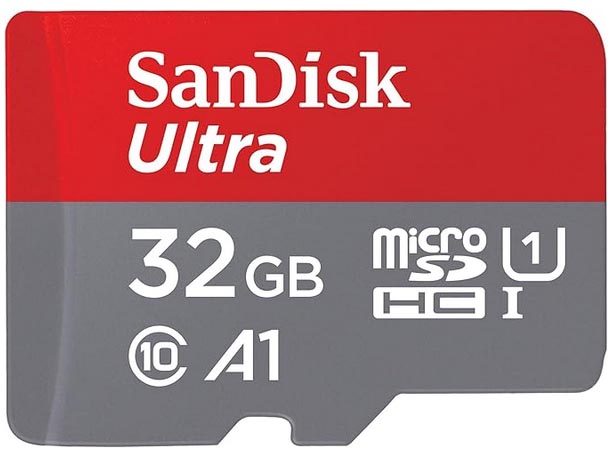
- 32GB (or more) Fast!!! micro sd card. Available anywhere but I advise Amazon as there are many fakes around.
A rough calculation for this build is £33.50. Note: the MMDVM Hotspot will require some soldering. You can shave a few £s off this by ordering the Pi Zero without headers and soldering them on yourself.
Obtaining Pi-Star and writing to the sd card
Download the latest version of Pi-Star, currently Pi-Star_RPi_V4.2.3_18-Apr-2025 and unzip the downloaded file to extract the .img file.
In order to write the .img file to your sd card you will need a USB card adapter and the software to write to the sd card. I recommend the Raspberry Pi Imager.
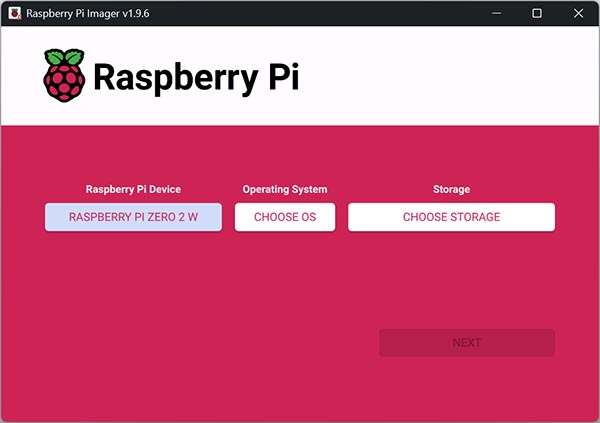
Open the Imager and under Raspberry Pi Device choose RASPBERRY PI ZERO 2 W
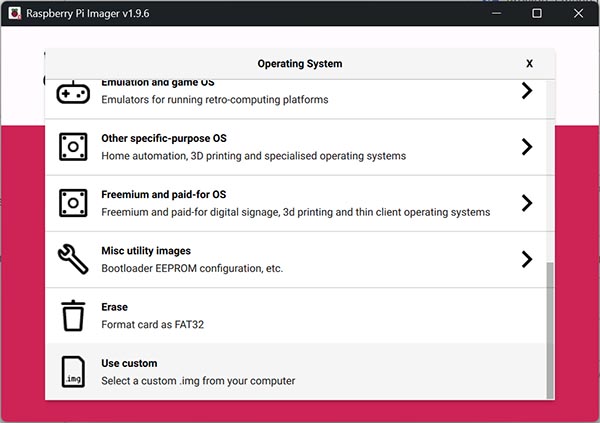
Next click "CHOOSE OS" and scroll down to the last option "Use custom". Navigate to where you have extracted the Pi-Star .img file and select the .img file.
Insert the sd card into the sd card adapter and insert the adapter into a USB port on your computer. Now click "CHOOSE STORAGE" and the imager will display your sd card. Select this card.

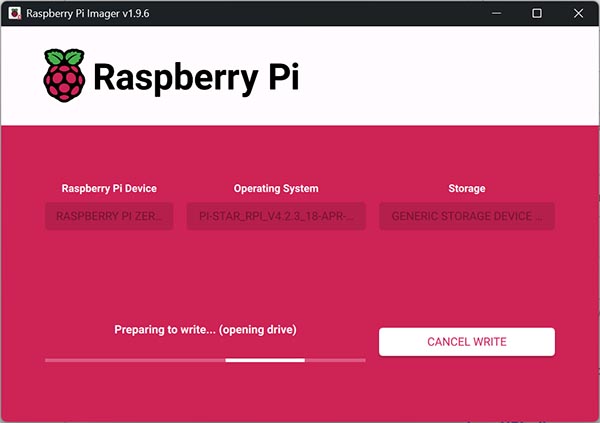
The Imager should now be configured as below. Click NEXT.

Click NO to customisation settings. Pi-Star is fully configured when it is installed.
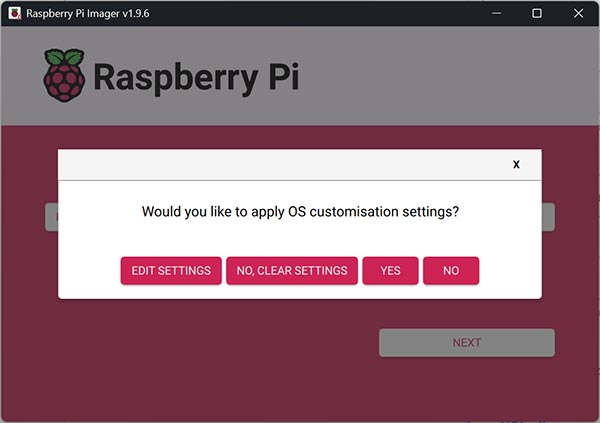
Click YES.
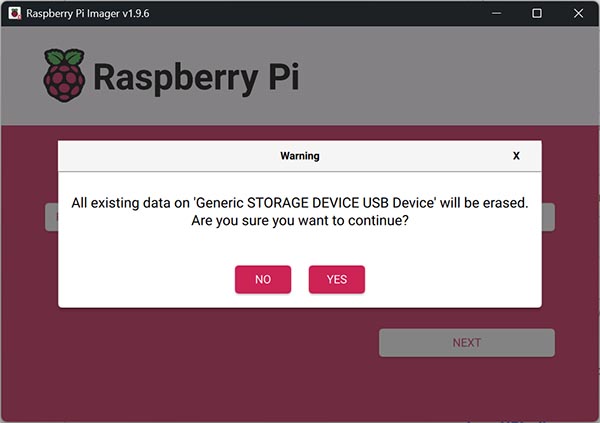
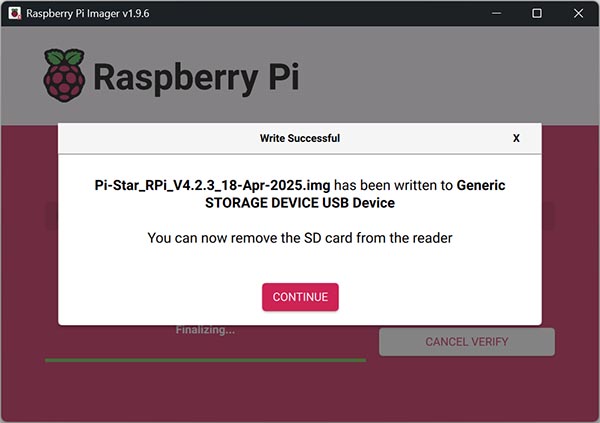
The Imager will now write Pi-Star to the sd card.
Now comes a more difficult procedure. The Pi Zero does not have a wired ethernet connector and the only way to connect to your LAN is via Wi-Fi but for that, Pi-Star needs to know the name of your Wi-Fi network (SSID) and password (PSK). In order to provide this you need to visit the Pi-Star Wi-Fi Builder. On this page enter the name of your Wi-Fi network in the SSID field and the password in the PSK field. The Pi can only connect to a 2.4 GHz Wi-Fi (802.11b/g/n) not a 5 Ghz Wi-Fi. Now click Submit
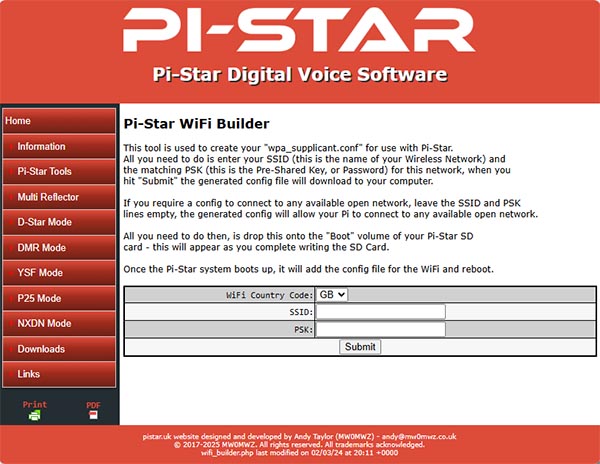
This will now download a wpa_supplicant.conf file. Remove the sd card adapter wait a few seconds and re-insert it (the imager ejects the sd card). Your PC should now recognise the sd card and in explorer you should see a drive called boot and in my case was mapped to drive F (this is the sd card). copy the downloaded wpa_supplicant.conf file into the root of the sd card. Remove the sd card adapter and insert the sd card into the Pi Zero.
Attach the MMDVM Hotspot to the Raspberry Pi Zero and connect the Pi to a USB power source.
Wait ~5 minutes (the Pi needs to reboot twice to setup the Wi-Fi) and then click this link http://pi-star.local. If all is well, you will see the Pi-Star Dashboard (it might go direct to the Configuration page on 1st boot). If not, Contact.
On the first connection to your hotspot's web interface it will ask you to login. The user is pi-star and the password is raspberry.
Click Configuration.

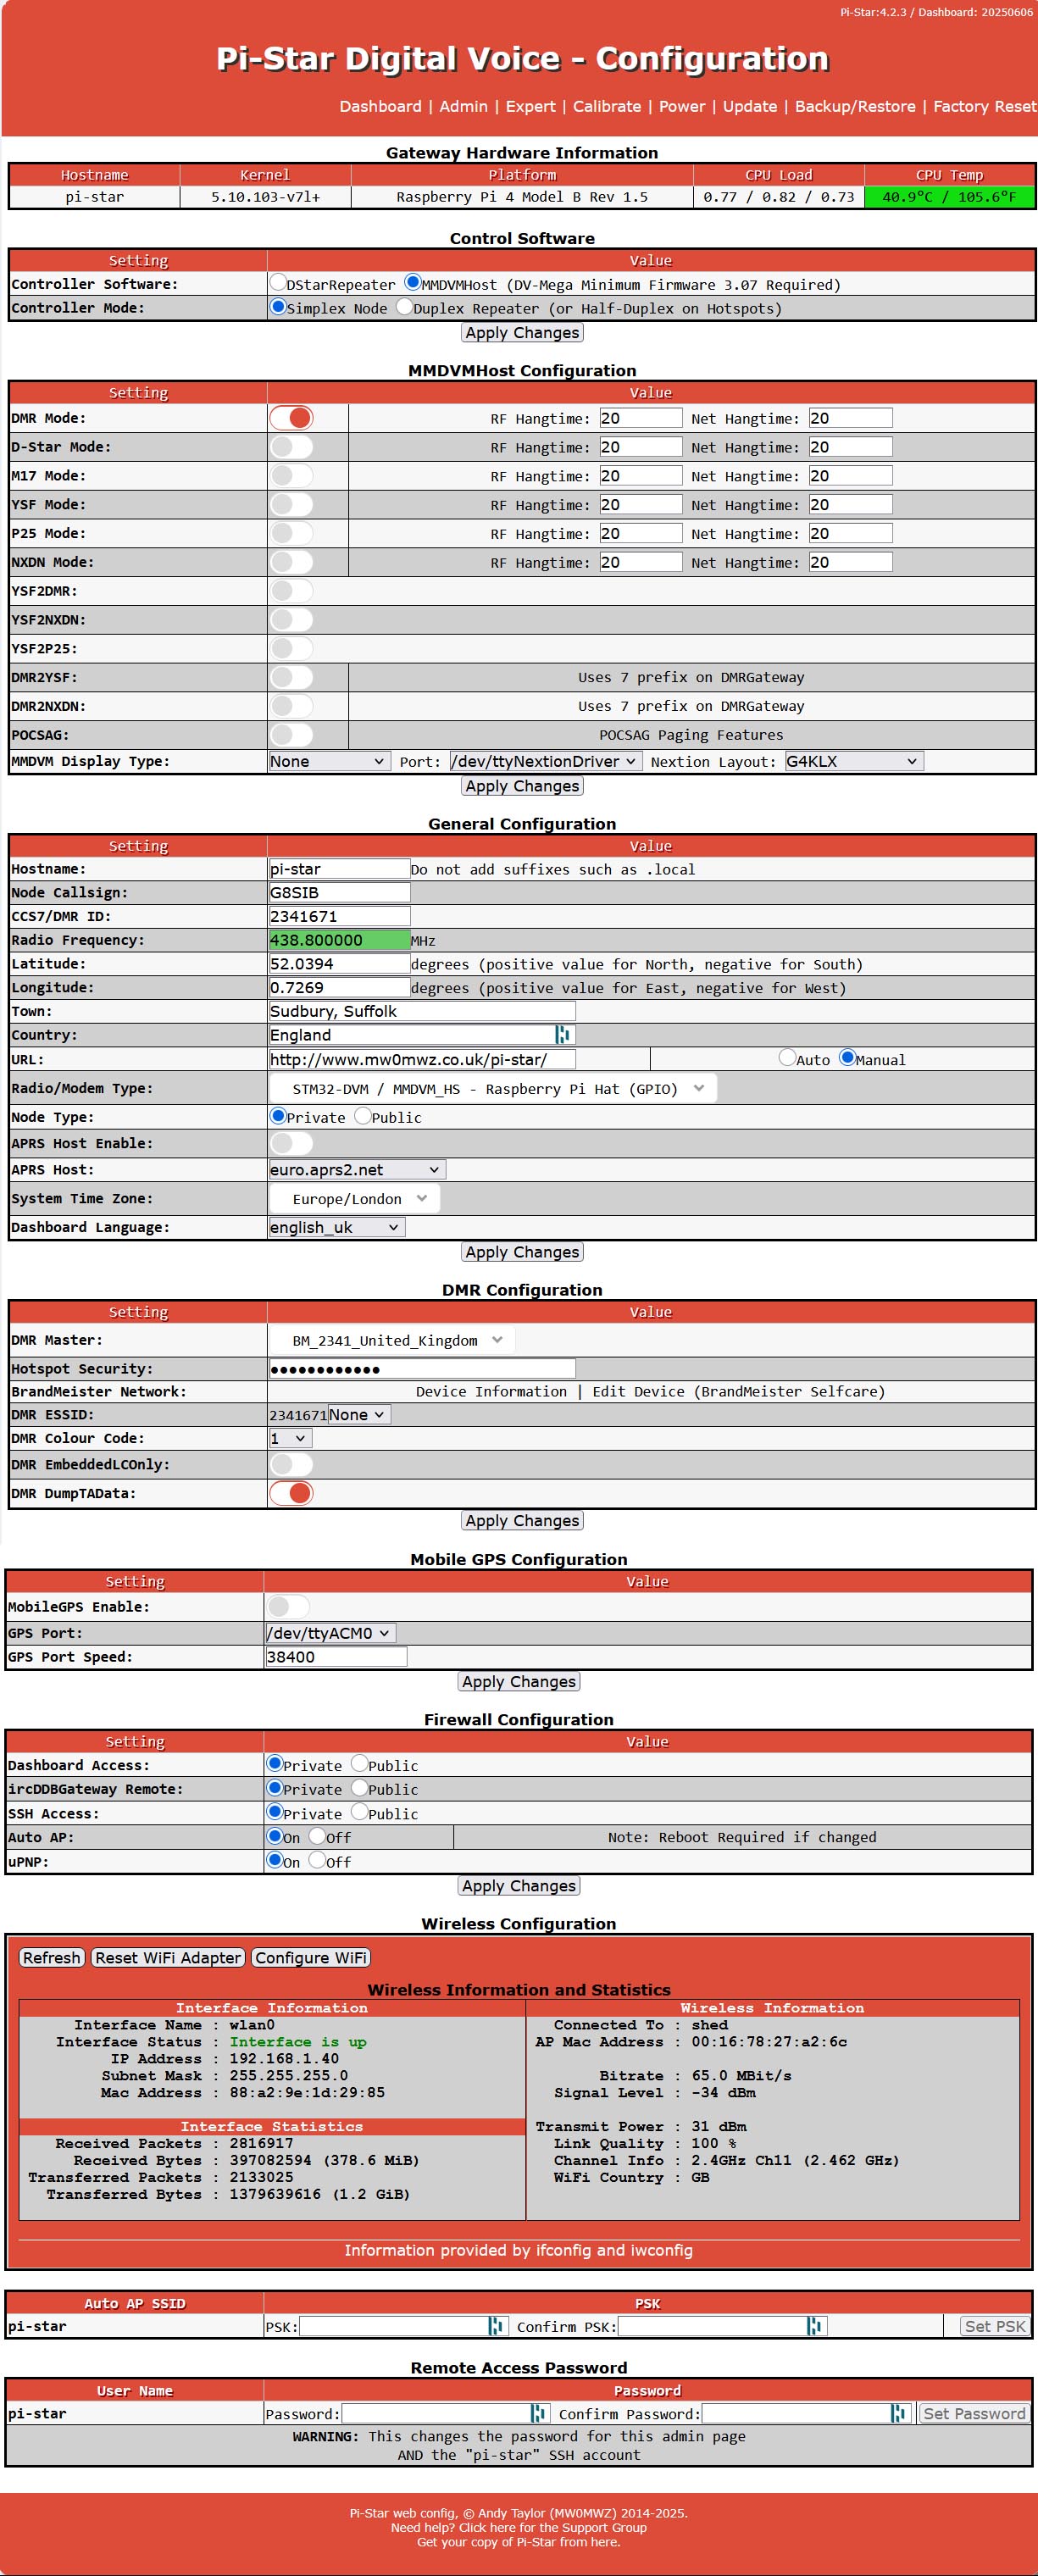
You will then goto the main Configuration page. Below is my configuration (my platform is a Raspberry Pi 4 Model B Rev 1.5)
Everything needs to be exactly the same, apart from the obvious, location, Wireless Configuration etc. Enter your details in the following fields:
| Node Callsign: | Your Callsign |
| CCS7/DMR ID: | Your Digital ID from RadioId |
| Hotspot Security: | Your BrandMeister SelfCare password |
When you have made changes in a section, click the Apply Changes button for that section.
Once everything is working, I highly recommend installing the LastQSO application.